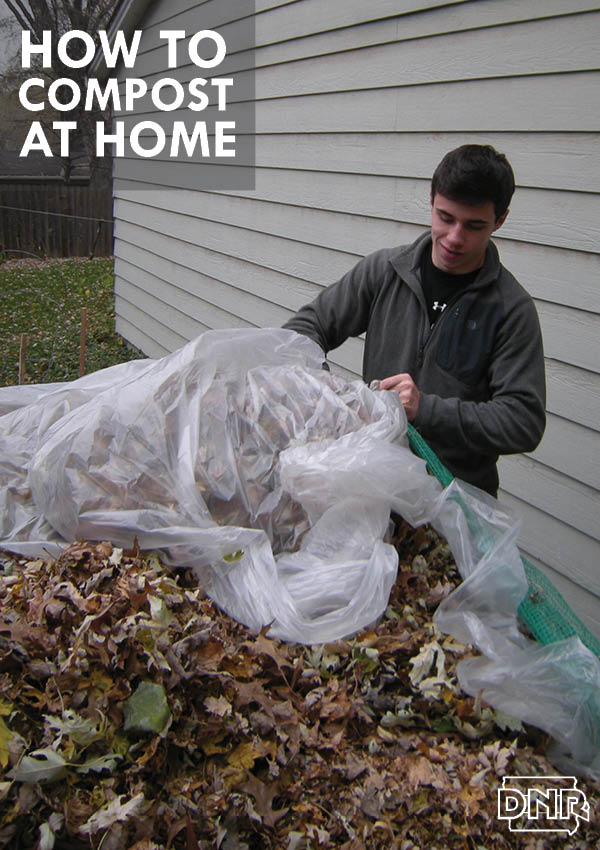
 Yard waste is the second major waste generated in cities and towns – and since it’s illegal to place yard waste in the trash in Iowa, it needs to be composted. While you can send off yard waste for municipal composting, it’s also easy to do in your own backyard, saving you money and helping your yard and garden. Use this tutorial from DNR staffer Karen Grimes to start your own compost heap at home.
Find a level area. Look for a spot away from children’s play areas. Then decide how large of an area you’ll need, based on the size of your yard and how much material you’ll compost. A good starting size may be 3 by 5 feet, with some room available for expansion if needed. Mine is almost 4 feet high and 5- by 7- feet, because I compost leaves from four huge trees. I prefer direct sunlight so bacteria and other microorganisms break down leaves and clippings quickly. As decomposition progresses, the interior of the compost heap should reach 100 to 130 degrees Fahrenheit or higher. Worms and bugs survive better at 80 to 100 degrees, but decomposition will work slower at that temperature. Choose a spot that’s aesthetically pleasing, maybe behind the garage or in a back corner of the garden, out of view from the street or neighbors. Make sure you can hose it down with water. Start with bare dirt, so worms have access.
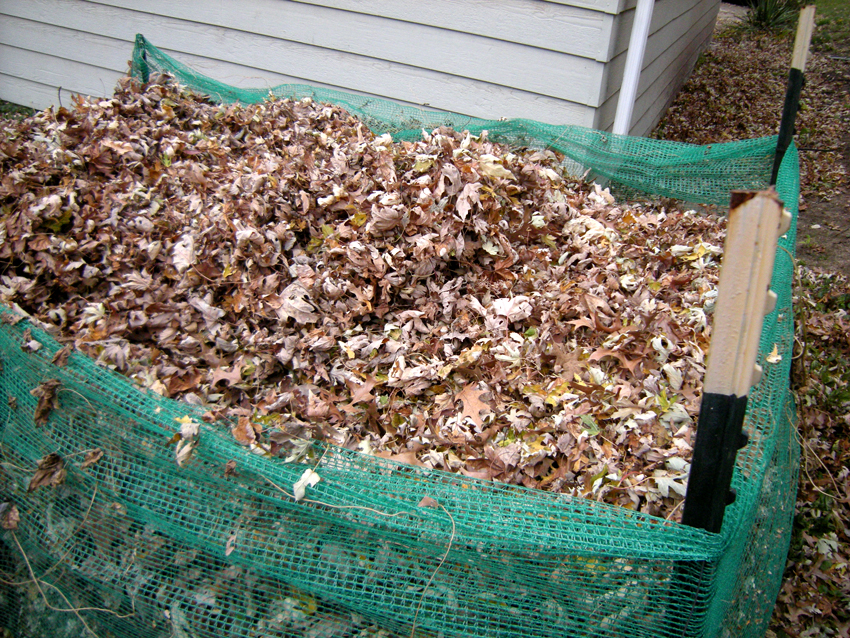
Bin it in. Buy a bin or build your own from wood scraps (non-chemically treated), chicken wire, fencing or concrete blocks. It doesn’t have to be fancy, just a
im for well-ventilated. My frame consists of six small steel fenceposts, pounded into the ground with a hammer. Sided with green plastic safety fencing on three sides, the fourth side is woven wire, hinged to make a gate for easy access. My parents’ bin was made out of left-over snowfence. Four wooden pallets wired together will work, too, but avoid using treated wood. Essentially, you want something that holds the compost in place, but allows air to circulate. If you’ll be using compost on your vegetable garden, avoid anything harmful that could leach into the compost. Rotating compost bins are available if you want to speed up the process. A simple cover, such as a plastic sheet, helps keep heat in and controls moisture. If you’re mostly composting yard waste, direct sun is fine and helps keep temperatures up. Otherwise, you may want to consider partial shade so temperatures don’t get too hot.
Feed your compost. Low-maintenance piles need brown (carbon-rich) and green (nitrogen-rich) plant materials. Start with a base of small branches to increase air flow. Throw in leaves, wood chips and sawdust for the brown. Mix with lint, shredded newspaper, fireplace ashes, and cotton or wool rags. Collect grass clippings, and kitchen scraps – such as fruit and vegetable peels, eggshells, coffee grounds and filters, and tea bags – to provide the green. Aim for 1 to 1 or 1 to 2 ratios of green to brown materials. Shovel in a few spadefuls of garden soil to start the process.

Keep it clean. Starve the compost by keeping out weeds, diseased plants, pet waste, chemically treated products, ash from the grill, fats, meat and fish scraps or bones, dairy products and plastics. In short, divert to the landfill anything that could cause disease, odors or attract pesky insects, neighborhood pets, raccoons or rodents.
Keep it healthy. Add both green and brown material occasionally. Take a pitchfork to it every few weeks (or months, if you aren’t in a hurry, especially over the winter). Turning it adds air and moisture, speeding decomposition. Manage no-turn piles by adding materials in layers with a few shovels of soil, and removing finished compost from the bottom. Sprinkle with water during prolonged dry periods, but avoid getting it too wet.
Get in the garden. After two months to a year, look for dark, crumbly, rich-smelling humus. Add to gardens to improve soil tilth, and increase nutrients, organic material, water absorption and humic acids. Use as a mulch to discourage weeds or reduce erosion. You’ll be glad you did – and all for free!
For more ideas on eco-friendly ideas you can use in your own home, check out our In Your Own Backyard and Earth Day Every Day boards on Pinterest.